This year, we’ve been working hard to be flexible, efficient and accurate mathematicians and being able to explain your thinking. “Decomposing numbers” is a great strategy to tackle multiplication problems that are challenging to you. Here’s an example:
Newscasts from Outer Space
As a culminating project to our unit on outer space, groups of students researched a celestial body, then created a news cast video using green screen. Have a look! And feel free to add comments 🙂
Explaining Number Lines
The way students think about math has changed a great deal in the last couple of years because the way teachers are asked to teach math has changed.
Do you feel confused about how number lines help with subtraction? Hopefully, these short, student-generated videos will help.
Feel free to leave positive, celebratory comments 🙂
Using a number line to solve 56-32 (or the difference between 32 and 56).
Finding the difference between 67 and 80 (or 80-67).
And for a little more advanced subtraction, the difference between 59 and 283 (or 283-59).
What Would You Do if You Lived in a Snow Globe?
Special Local Fish
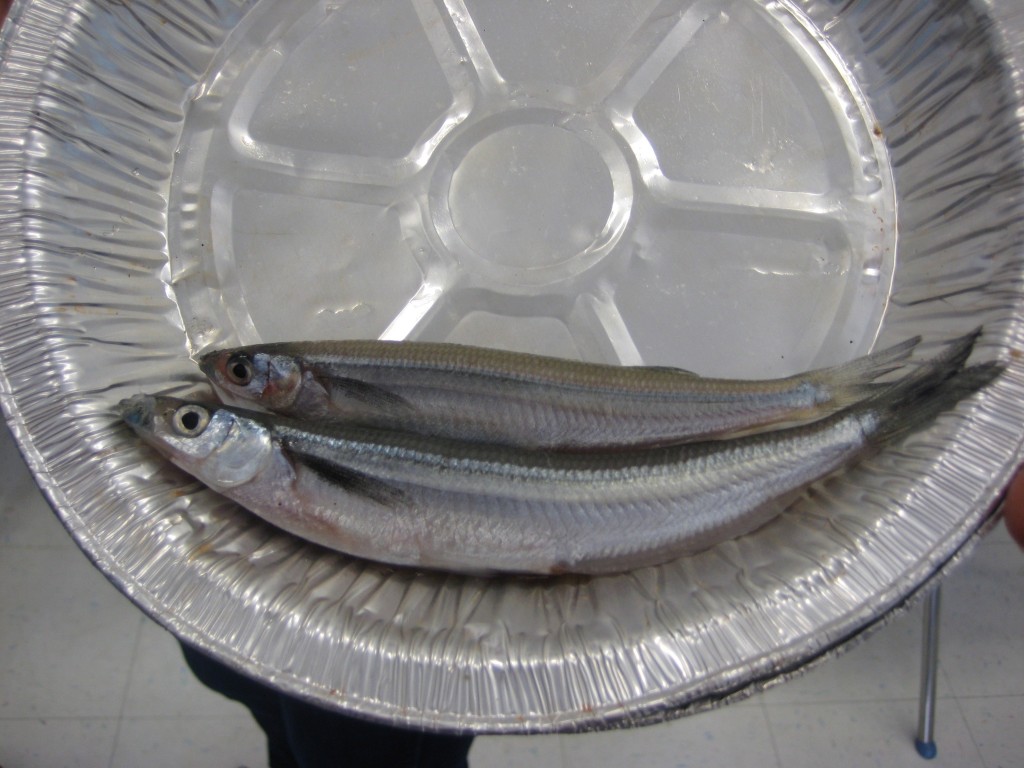
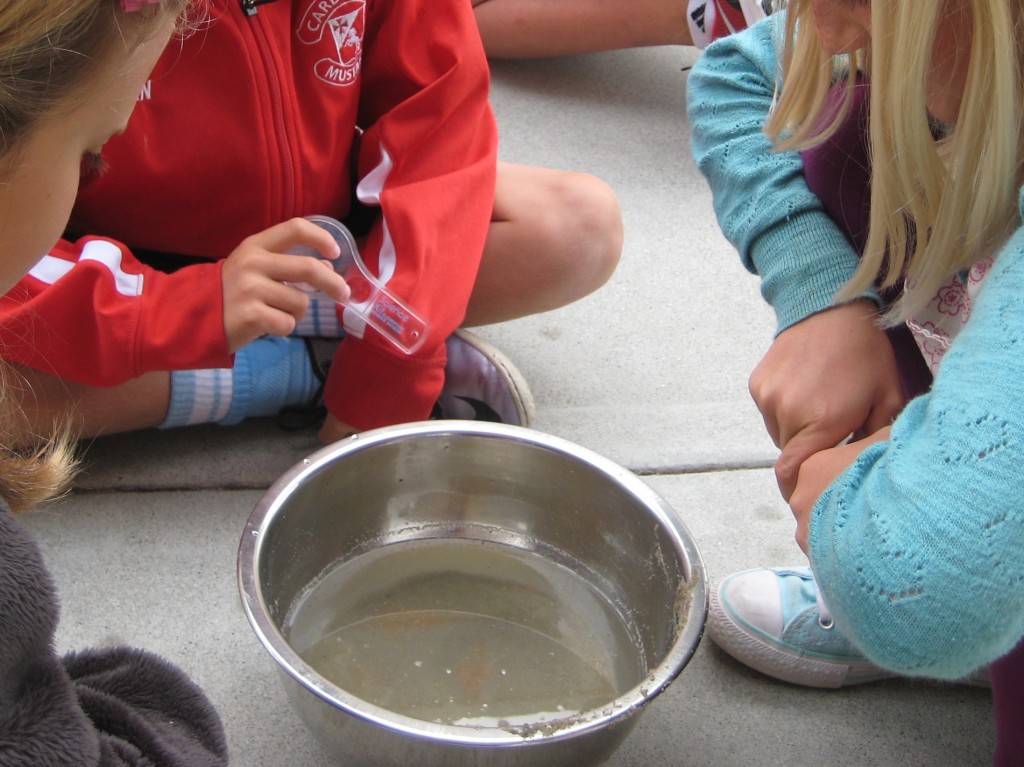
A shake. A crack. A new life. Recently in science, we were studying grunion, a special fish right here on the coast in San Diego. Grunion are the only fish that lay eggs on land. Their full size is about as big as a one-dollar bill. Mrs. Candelaria showed us two fully grown (and dead) grunion. They were really cool, eel-like fish. Then we got the opportunity to hatch some of the grunion eggs. First, we split into groups and each group got a chance to look at some live baby grunion to see what we were looking for. Then, our group got a tub of grunion eggs and each table member got a chance to shake the tub to try to hatch one. It was very exciting watching the eggs swish across the water’s surface! Then, suddenly, when we looked in the tub one tiny little grunion was swimming inside! Then a few minutes later there were three in the tub… Some groups had as many as five. In my opinion, this was one of the best science labs ever and I would love to do it again!
Side note: Grunion are found only along the coast of southern California and northern Baja and are the only fish who come out of the water to lay their eggs on the wet sand.
For more information, check out websites like this one:
http://sandiego.about.com/od/outdoorrecreation/a/grunions.htm
Building Bridges in the Garden
(Post written by Cindy Jenson-Elliott)
Problem Solving Opportunity:
Last year, students in the Cardiff School garden helped build a simple arch trellis out of rebar and hardware cloth to hold up four new passion fruit vines. I had read that it would take 3 years for the vines to produce fruit, so I figured the trellis was all we would need.
Imagine our surprise when the start of the new school year revealed a four fully-established passion fruit vines heavy with fruit! Within months, the entire trellis collapsed inward, completely filling in the tunnel with a mass of vines.
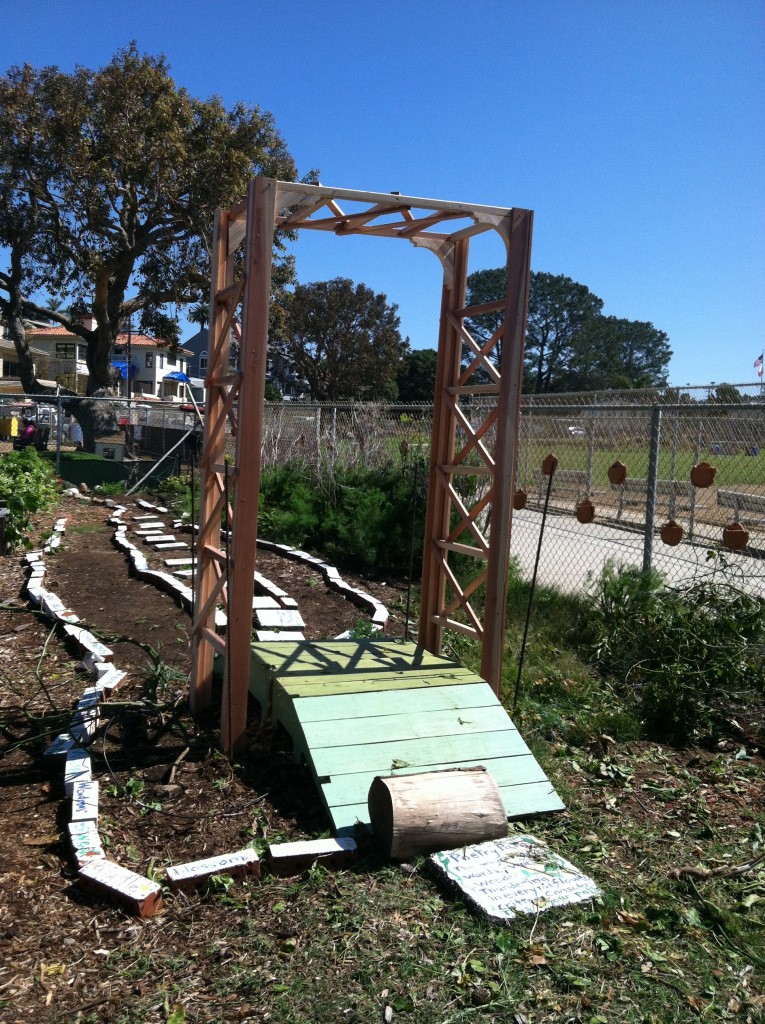
Seeing an opportunity in the problem, the Cardiff MAC class embarked on a 6-week mission to build a new trellis. Since a trellis is a type of bridge – a span helping something or someone cross a divide – we began with a study of bridges in order to understand the best way to build a trellis.
Resources
We began by looking at a Powerpoint presentation with pictures of different types of bridges from all over the world. We learned the types of bridges: Beam, Arch and Suspension, and looked at pictures of each type. We learned that a bridge needs to be the right strength to hold up the load, and the right size to span a particular width and allow something else to pass underneath. We learned the basic parts of a bridge: the piers that hold up the deck of a bridge, and the span is the space between piers.
These books were especially helpful. They helped us learn about types of bridges and how they are constructed, gave us experience with narratives from the lives of people who build bridges, and gave us ideas for experimenting with bridge building ourselves.
Experimenting with Bridges
We experimented with tension cables to see how they could work to hold up a load in a suspension bridge. We wondered how many children it would take to pull on a rope to hold up the weight of a seated teacher – me! (It took six children – three on each side, holding on and leaning back.)
Working in groups of two, we made plank bridges out of paper and blocks to hold up pennies. We experimented with making the deck stronger with more pieces of paper and by putting an arch of paper underneath. We also discovered that the closer the piers were, the more pennies the bridge would hold.
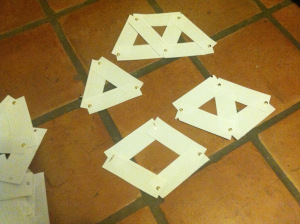
Next, we learned how engineers add strength to bridges to make them especially strong, using arches and triangular-shaped struts for strength. We looked at pictures of strong bridges that used struts. Then, working with a partner, we made our own struts out of index card strips and brads.
Trellis Design
Now that we knew what made bridges strong, we were ready to design a trellis that was:
- Strong enough to hold up four heavy passion fruit vines;
- Tall enough for a tall adult to pass underneath;
- Wide enough for our ramp to fit underneath;
- Simple to build;
- Pretty to look at;
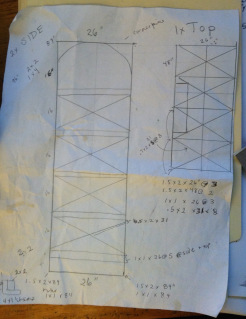
- 84 inches tall x 48 inches wide x 26 inches deep
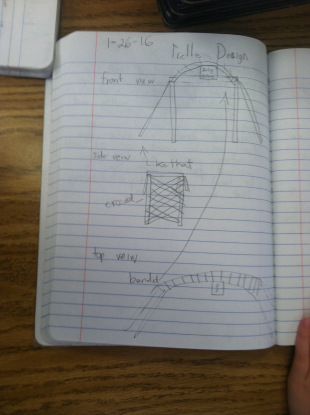
We began by looking at photos of trellises and noticing what made them appealing and strong. In our writers’ notebooks, each child began by sketching his/her own trellis, with a front view, side view, and top view.
Then, each child shared their design with the other students at their table. They came up with a group design for each table showing front, side and top views.
At a class meeting, each group got up to share their work on the document camera. They explained their design, and what they felt were the most important elements of the design.
Then, working as a class, we took the best parts of each design to make a single class design that included all the necessary elements and proper dimensions for the front, side and top of the trellis.
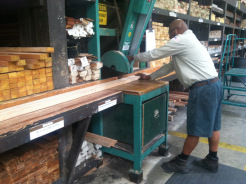
Mrs. Elliott took the design to Dixieline with a list of supplies, and a very kind man named Gerard helped her choose the wood, and then cut it to the proper sizes.
Building the Trellis
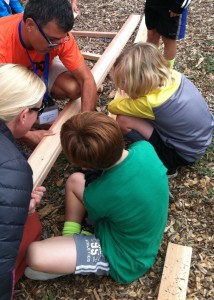
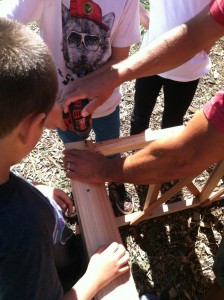
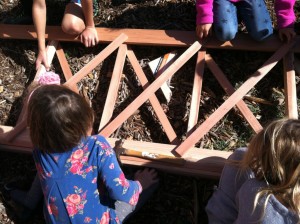
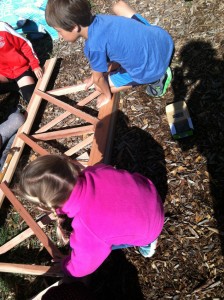
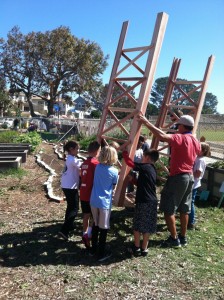
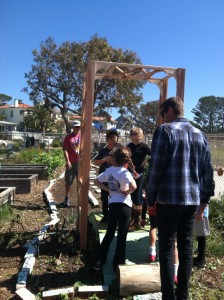
During garden time, the class divided into three groups. Mrs. Elliott worked with one group, while Brody’s Dad, Mike, worked with another group, and our garden teacher, Mr. Brink, worked with the last group in the garden. Students learned how to properly use a Phillips head screw driver and a power screw driver to drive wood screws into pre-drilled holes.
It took two garden times to finish putting the trellis together. The class is feeling very proud of their accomplishments and everyone really enjoyed the project!
You can also read the original post on Mrs. Jenson-Elliott’s blog:
https://naturexplorer.wordpress.com/2016/03/07/building-bridges-in-the-garden/
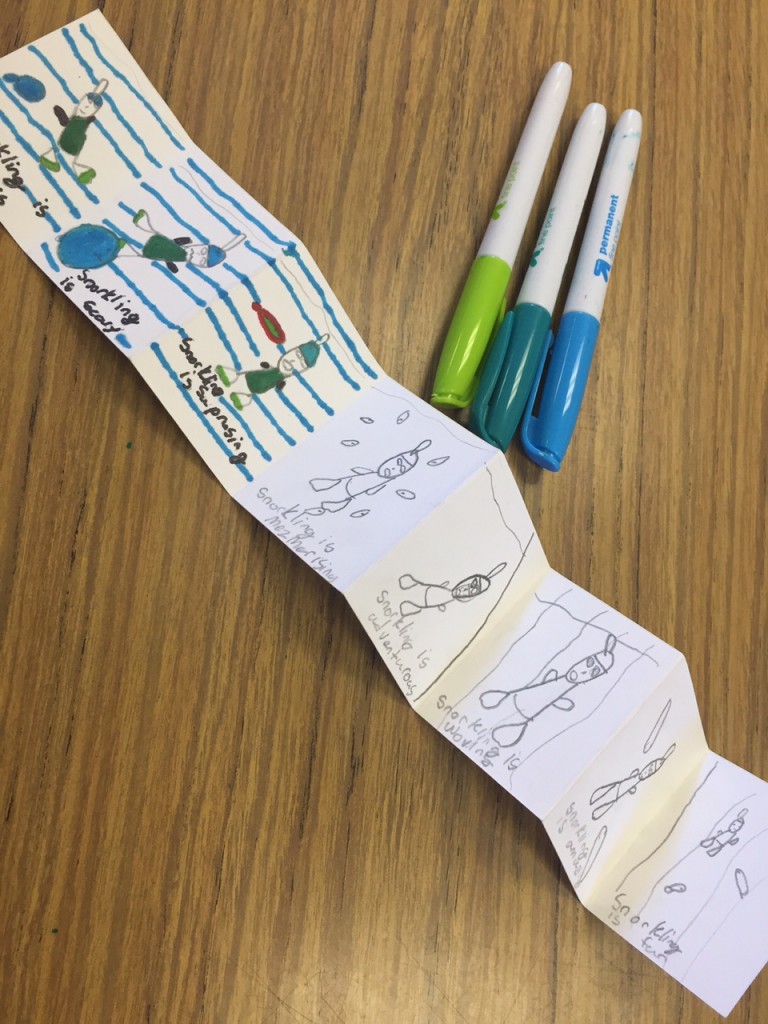
Accordion Books
A Favorite Project Inspired by an Author
For some time now, our class has been lucky enough to be in communication with a favorite author and illustrator from Vermont. We’ve been emailing and Skyping with Lizi Boyd since the beginning of last year; so exciting!
A Favorite Project: Guest post by McKinley
One day, we were just sitting there learning when Ms. Boyesen opened a package from Lizi Boyd! We got some folded paper, envelopes, and Sharpies from her! “Time to make accordion books!” we thought.
There are four steps involved in making an accordion book:
Step 1: Make a Plan
We had to keep in mind that we only had eight scenes, so out came our hard worked writer’s notebooks, and we made a sketch. And now while we were all drawing, I can tell you what an accordion book is… It is an accordion (the instrument) shaped from paper that we had to fold. And there is a cover, a back, and usually eight scenes. We had to draw a simple-ish drawing. Not crammed or too many drawings or words on it.
Step 2: Now we get checked…
So we can make sure we don’t have any spelling mistakes, our teachers checked our work (after all, you want to do a good job when emulating an author!) Then comes the trickiest step…
Step 3: Fold and Do Our Final Draft
So we got a paper and folded it in half. Then we folded up the edges. And then we folded it in, and then in half again. So now we have our accordion books. So then we drew our story (faintly) on each page. Now we’re at our final step…
Step 4: Waiting and Getting Called to Trace
We now waited and got called back to trace and add a splash of color! So we traced a thin-tipped Sharpie over our sketch. Then we got to our “stations,” the color groups, like pinks and reds, blues, greens, and purple/brown.
This was an amazing art project to do. I loved it a lot!
A few videos to share the final accordion books in all of their glory!
Thank you, McKinley, for sharing this wonderful post with us!
Kelp and Writing in Science
Quote
Having strong mentors is incredibly helpful when learning something new or advancing in a skill. Even the most accomplished writers turn to mentors, and so as fledgling writers we study published authors to learn new craft. A favorite type of science writing in our class is using a mentor text that has nothing to do with the topic we’re studying and applying this craft or style to a piece of writing filled with science facts. It scaffolds, or supports, the writing in science so students can focus on beautiful language and weaving in facts.
Kate Messner’s Over and Under the Snow provided us a “whole text” mentor rather than just studying one sentence. We first read the book as readers, enjoying her beautiful language explaining who lives under the snow in the winter. We then read it again as writers, focusing on her juxtapositions of what a dad-and-son team experience as they’re cross-country skiing in snow, versus what happens with the various little critters living below.
Messner writes, “Over the snow I climb, digging my edges so I don’t slide back down. Under the snow, voles scratch through slippery tunnels, searching for morsels from summer feasts.” When reading her work, it quickly becomes apparent to students that Kate Messner is a genius at weaving beautiful sensory language to eloquently paint a picture in the reader’s mind.
Kate Messner’s newest book, Up in the Garden and Down in the Dirt further provides a similar structure to help students understand they’re not beholden to the exact words of “over and under” to show juxtaposition and that comparing “up and down” or “inside and outside” work equally as well.
Towards the end of a science unit on the kelp forest, students took the structure of juxtaposition that they learned from Messner and wove in facts they had learned about this special ecosystem. In addition to learning from Messner’s structure, we also noticed that she used incredibly effective, vivacious verbs. After writing a first draft, students spent some time identifying the verbs they had chosen and revising with even more interesting verbs. As teachers, we love to see evidence of our teaching—and the mentors we study—in student writing. The idea of using mentor text to help scaffold writing is not just that it provides a one-hit wonder, but that the structure of the text becomes a “tool” we can add to our “writer’s tool box” for future use…
In lieu of posting all 43 students’s writing, here are a few examples. See if you think you can detect Kate Messner’s mentorship in these pieces…
In the Kelp Forest
Over the kelp forest
seagulls are hungrily eating fish,
under the kelp forest sand crabs
are hiding in holdfasts.
On top of the canopy
sea snails are slithering,
under the canopy bat stars lie
on the rocky surface.
High in the forest
sea otters swim,
low in the forest,
eels are diving.
Eddie Cornell
1st Grade
Over and Under the Kelp Forest
Sea birds flap their wings over the kelp,
looking for tasty food for dinner,
while under the kelp the fish
try to find an escape from the sea birds.
Under the kelp, the sea lions hunt and play.
Over the kelp the sea otters
get wrapped up in seaweed
to keep from drifting while they eat.
Over the kelp the waves crash,
making crackling sounds,
while under the kelp
the sharks lick their lips
for the big hunt.
Emil Adame
2nd Grade
Up and Down in the Kelp Forest
Over the kelp forest, on the knotted canopy,
a sea otter prepares for a yummy meal
with roaring waves about,
on his belly table!
Under the waves,
a sea urchin chomps and gobbles at the holdfast,
until the tiniest crumbs are left of it.
Up on the canopy of the kelp forest,
a sea bird wades, and patiently waits.
Under the tangled canopy, a school of fish
spots big orange feet flowing in the sunlight
and they hastily swim away!
Under the slimy canopy, a shark lurks,
he spots a fish and past the kelp he glides,
swimming, swimming, speedy, speedy,
swimming, speedy, speedy!
Over the waves, on the greasy, rubbery kelp
a sea snail slurps and chomps
up a kelp leaf,
minding his own business on the canopy!
McKinley Blehm
3rd Grade
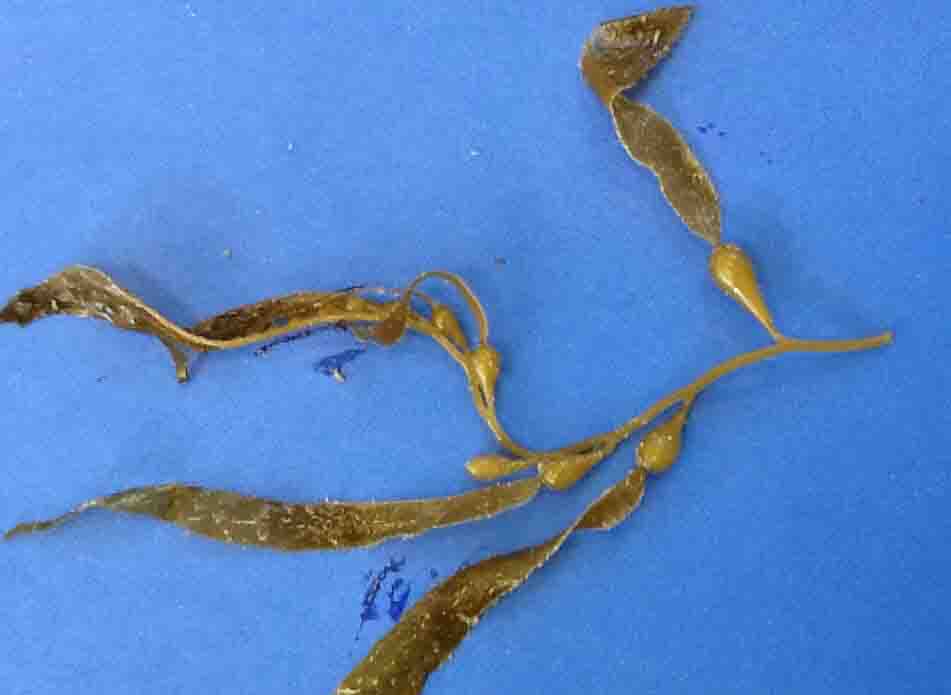
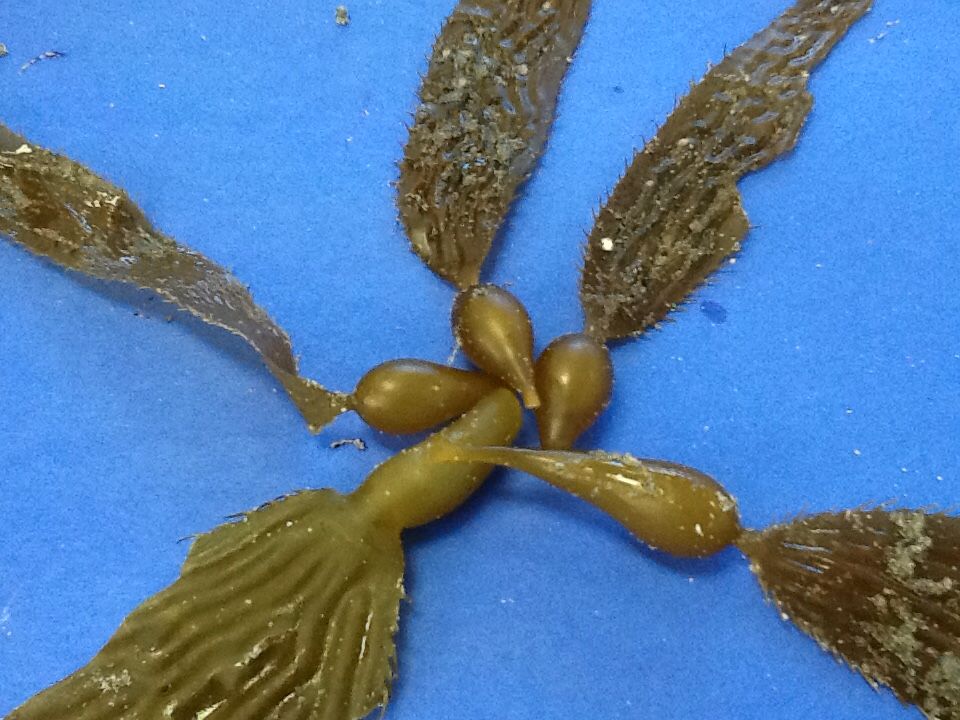
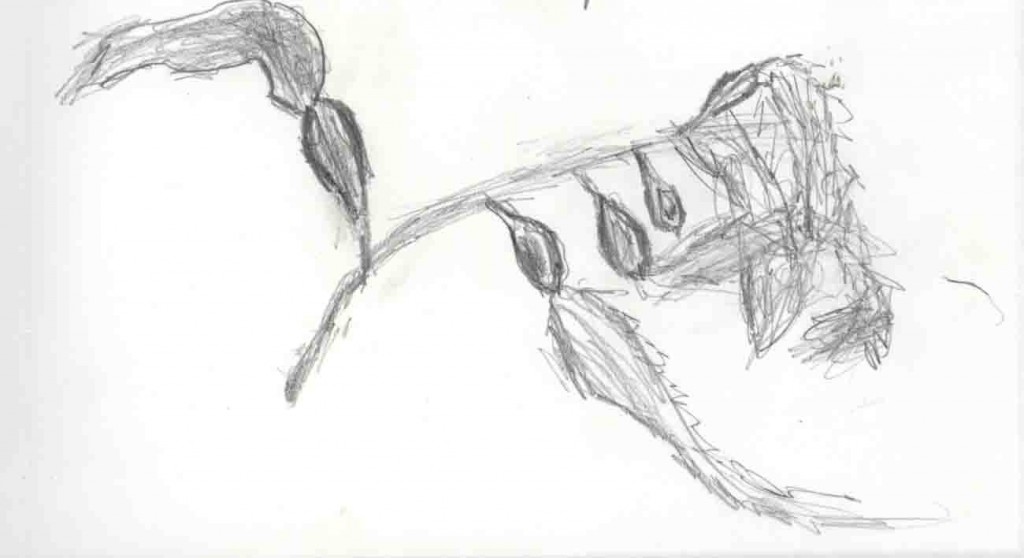
Another favorite strategy of ours is to pair art with writing in science. Luckily for us, Mrs. Candelaria, our science teacher, brought in mounds of kelp for observation. Touching, exploring, and answering questions about this rubbery marine plant helps our little learners to experience richer, deeper learning. After observing the kelp in science lab, we got out our iPads to take close-up photos of the kelp, and our sketch notebooks to try our hand (and pencil!) at capturing the fronds, stipes, holdfasts, veins and nuances of this prolific marine plant. And, hey, did you know, that marine plants provide 80% of our world’s oxygen? A pretty important plant, wouldn’t you say?
A few of our photos and sketches…
(Photo credits: Amelia – 1st Grade, Calvin – 2nd Grade, Diego – 3rd Grade)
(Sketch credits: Koa – 1st Grade, Dain – 3rd Grade, Aivry – 2nd Grade)
Subtraction Strategies
Even though addition and subtraction are reciprocal operations, many students find subtraction to be more challenging than addition. Counting backwards creates opportunities for mistakes…and drawing the number and crossing off the amount to be subtracted is simply not efficient! Below you will find a few subtraction strategies explained along with a video. The goal is to use strategies that are efficient and accurate…and to use them only as long as you need them as support.
The Golden Arches strategy:
This strategy works best for subtraction of numbers between 12 and 20. It involves using 10 as an anchor number and taking two jumps to solve the problem. The ultimate goal is to internalize these amounts and no longer depend on documenting the steps.
Number Line strategy:
While similar to the arches strategy, using a number line allows for multiple jumps and works well for subtracting numbers with large differences between them. Larger differences might require more jumps at first, but taking lots of jumps is not the goal.
The importance of flexibility:
The strategies introduced above can be helpful when subtracting numbers, but there are many other strategies that work as well. It’s important to be flexible rather than relying on a rote routine to solve math problems. Understanding amounts and their relationships to known “anchors” sometimes makes number lines unnecessary. The video below shows three different approaches to a single problem. It’s important to think about the amounts you are working with and to have an idea about the approximate answer before you begin!
In all cases, it is important to be thinking about the amounts and the difference between them rather than relying on a single procedure. We want students to be able to do as much of this computation as they can in their heads, something that is possible when they understand the number amounts and can “see” them in different ways.
***A special thanks to our math/video helpers who made these videos to demonstrate the strategies.
Expressing Opinions Through Product Reviews
When we greeted our students on that first day back to school in early January after our winter break, stories of holiday celebrations, time with cousins and aunties (and other relatives), visits from Santa, and new special toys filled the air. Students were primed to start work on product reviews. They started by listing three favorite holiday gifts in their writer’s notebooks and then picking just one to recommend.
After hearing the special features of Mrs. Douillard’s monopod hiking stick (a favorite holiday gift of hers), they went back to their notebooks and began to describe the features that make their gift so special. From Rubik’s Cubes to Barbie’s Dream House, programmable robots to American Girl dolls, students were happily engaged writing about things that mattered to them.
With their work on book blurbs before the holidays, students were already familiar with recommending books. They knew to start with an interesting lead, to include some details to help the reader know what the book is about, to make deliberate word choices to keep the writing interesting, and to say why the book is a worthy read. Writing book blurbs was a perfect prelude to our longer product reviews.
But what exactly comprises a product review? We took a close look at a few reviews to study and notice how they were composed and what choices the authors made. First we studied a restaurant review written by a third grader a few years ago. We also examined the book review that Ms. Boyesen had written of Lizi Boyd’s Big Bear, Little Chair. Finally, we watched a video review of the 3D Viewmaster composed by some kindergarten students in a school not too far from here. Students looked closely, noticing the details and then identified a list of parts to include in their own reviews.
For this project, we decided that instead of typical written reviews, students would use the app Explain Everything to screencast their reviews. That meant they would need photos and maybe even a video of their product to use in their production. So…the favorite homework assignment of the year was born! Students got to take their iPads home (on the rainiest day of the year) to take photos/video of their favorite gift…they couldn’t wait!
Successful digital projects require planning and in the case of product reviews, thoughtful writing and revision before even getting to the screencast. Our students wrote drafts, first in their notebooks, taking the time to revise to make sure they were giving specific reasons why they liked their product. They then had to consider the order of their photos and how they related to the words they wrote. This offered yet another opportunity for revision–maybe another detail needed to be added to the writing. Before students were ready to record their screencast, they decided which words would be paired with which photos, writing them on large index cards. The last step before recording was taking the time to practice speaking their review out loud, thinking about keeping their volume up and using expression in the recorded review.
Eventually, student’s reviews will appear on their blogs for everyone to see. For now, here a few as a preview of what’s to come!

