(Post written by Cindy Jenson-Elliott)
Problem Solving Opportunity:
Last year, students in the Cardiff School garden helped build a simple arch trellis out of rebar and hardware cloth to hold up four new passion fruit vines. I had read that it would take 3 years for the vines to produce fruit, so I figured the trellis was all we would need.

Imagine our surprise when the start of the new school year revealed a four fully-established passion fruit vines heavy with fruit! Within months, the entire trellis collapsed inward, completely filling in the tunnel with a mass of vines.

Seeing an opportunity in the problem, the Cardiff MAC class embarked on a 6-week mission to build a new trellis. Since a trellis is a type of bridge – a span helping something or someone cross a divide – we began with a study of bridges in order to understand the best way to build a trellis.
Resources
We began by looking at a Powerpoint presentation with pictures of different types of bridges from all over the world. We learned the types of bridges: Beam, Arch and Suspension, and looked at pictures of each type. We learned that a bridge needs to be the right strength to hold up the load, and the right size to span a particular width and allow something else to pass underneath. We learned the basic parts of a bridge: the piers that hold up the deck of a bridge, and the span is the space between piers.
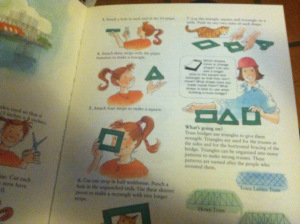
These books were especially helpful. They helped us learn about types of bridges and how they are constructed, gave us experience with narratives from the lives of people who build bridges, and gave us ideas for experimenting with bridge building ourselves.


Experimenting with Bridges
We experimented with tension cables to see how they could work to hold up a load in a suspension bridge. We wondered how many children it would take to pull on a rope to hold up the weight of a seated teacher – me! (It took six children – three on each side, holding on and leaning back.)
Working in groups of two, we made plank bridges out of paper and blocks to hold up pennies. We experimented with making the deck stronger with more pieces of paper and by putting an arch of paper underneath. We also discovered that the closer the piers were, the more pennies the bridge would hold.
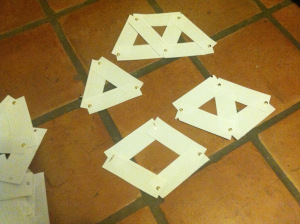
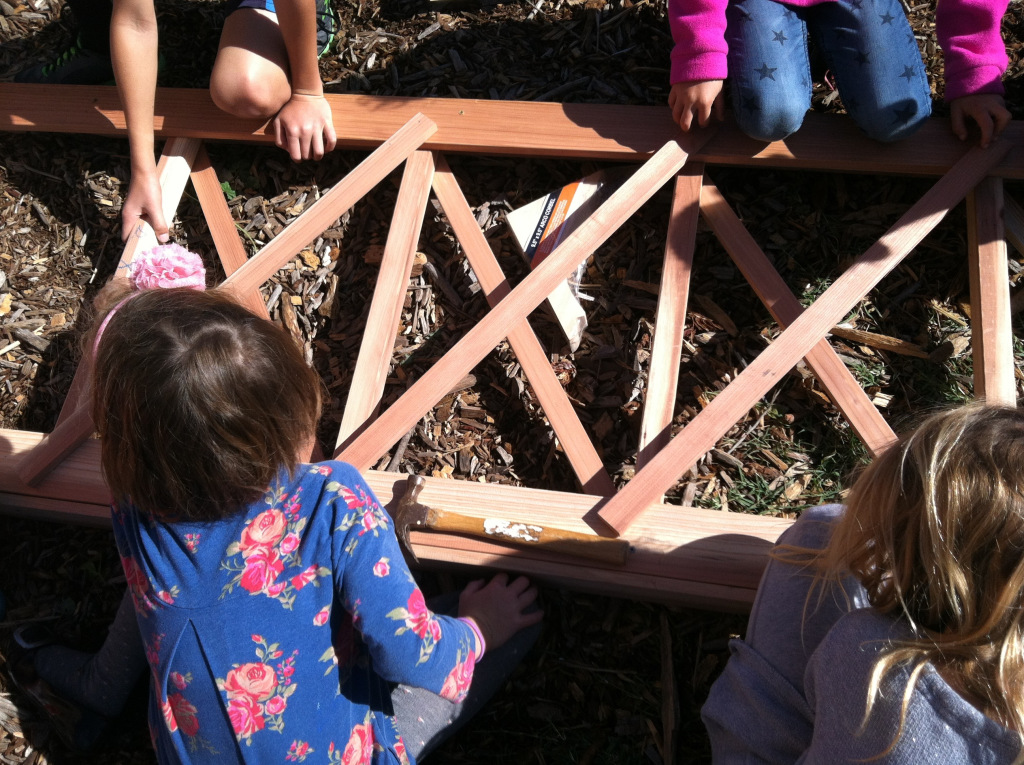
Next, we learned how engineers add strength to bridges to make them especially strong, using arches and triangular-shaped struts for strength. We looked at pictures of strong bridges that used struts. Then, working with a partner, we made our own struts out of index card strips and brads.
Trellis Design
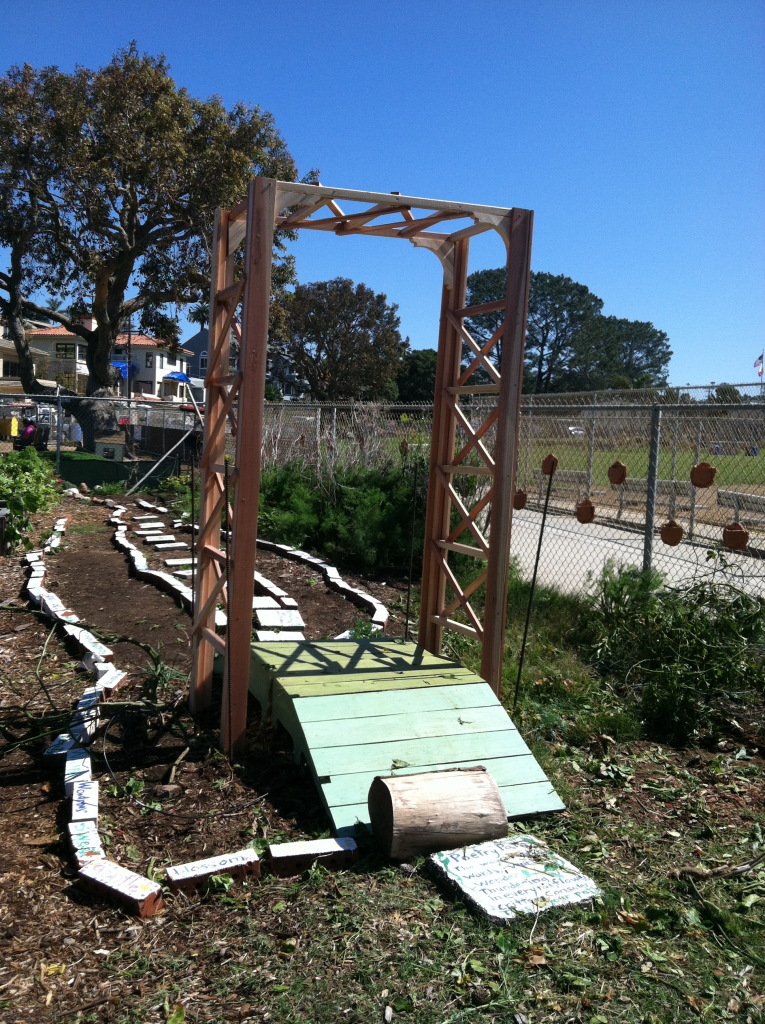
Now that we knew what made bridges strong, we were ready to design a trellis that was:
- Strong enough to hold up four heavy passion fruit vines;
- Tall enough for a tall adult to pass underneath;
- Wide enough for our ramp to fit underneath;
- Simple to build;
- Pretty to look at;
- 84 inches tall x 48 inches wide x 26 inches deep
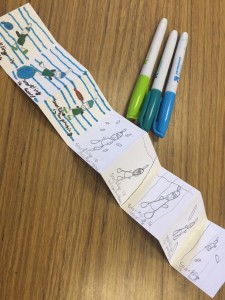
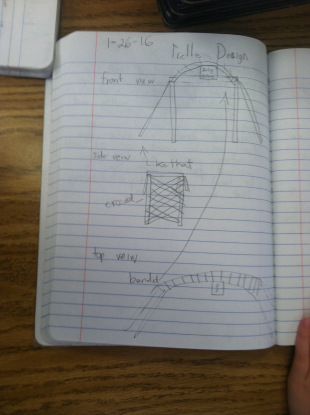
We began by looking at photos of trellises and noticing what made them appealing and strong. In our writers’ notebooks, each child began by sketching his/her own trellis, with a front view, side view, and top view.


Then, each child shared their design with the other students at their table. They came up with a group design for each table showing front, side and top views.


At a class meeting, each group got up to share their work on the document camera. They explained their design, and what they felt were the most important elements of the design.
Then, working as a class, we took the best parts of each design to make a single class design that included all the necessary elements and proper dimensions for the front, side and top of the trellis.
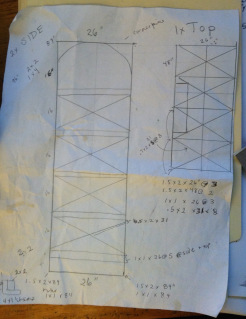
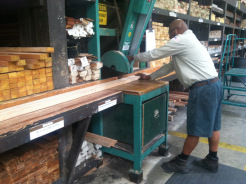
Mrs. Elliott took the design to Dixieline with a list of supplies, and a very kind man named Gerard helped her choose the wood, and then cut it to the proper sizes.

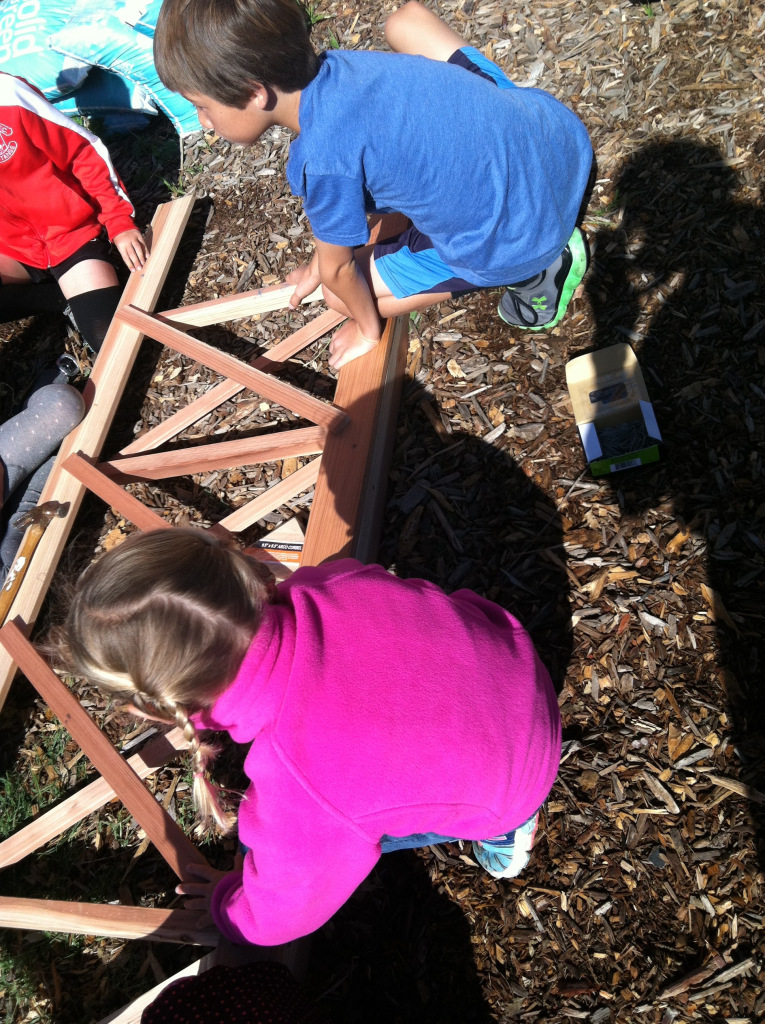
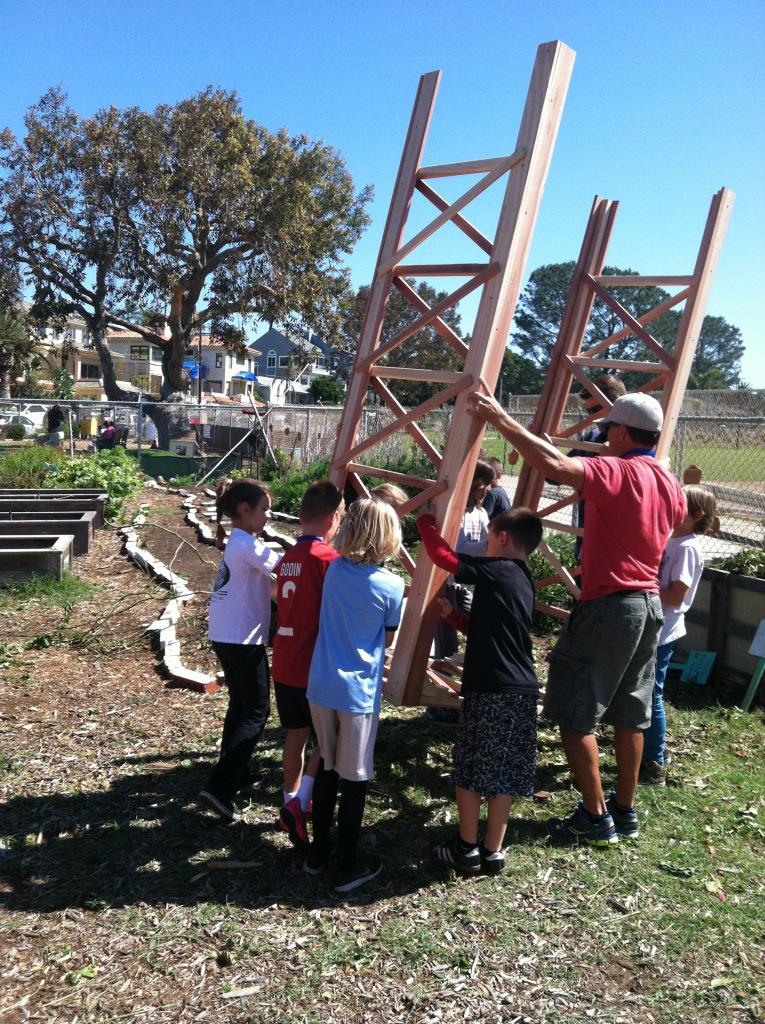
Building the Trellis
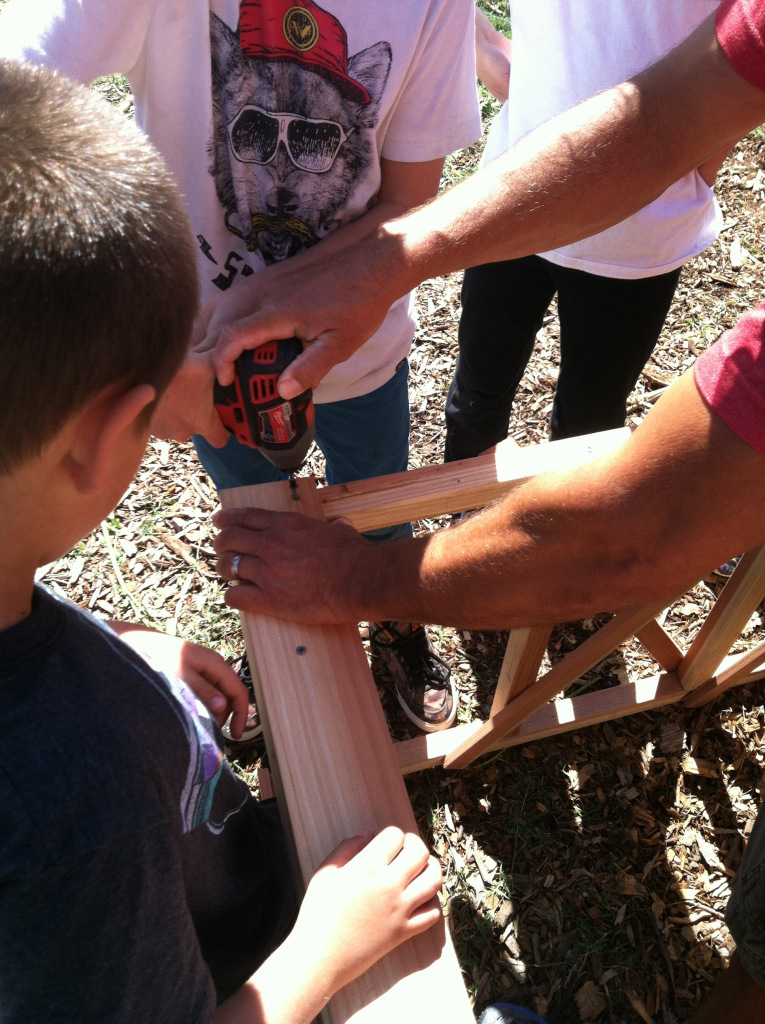
During garden time, the class divided into three groups. Mrs. Elliott worked with one group, while Brody’s Dad, Mike, worked with another group, and our garden teacher, Mr. Brink, worked with the last group in the garden. Students learned how to properly use a Phillips head screw driver and a power screw driver to drive wood screws into pre-drilled holes.
It took two garden times to finish putting the trellis together. The class is feeling very proud of their accomplishments and everyone really enjoyed the project!


You can also read the original post on Mrs. Jenson-Elliott’s blog:
https://naturexplorer.wordpress.com/2016/03/07/building-bridges-in-the-garden/